Step-By-Step Guide: How To Restore Hardwood Flooring After Water Damage
By 911 Water Damage Experts
It’s simple. The best way to fix water damage for wooden floors is to get them repaired. During flood damage, you can sand, refinish, and re-coat the wood floor but this isn’t a permanent solution.
Be prepared to take out the affected planks and replace them with new boards. The process is time consuming, and you may need the services of a professional water damage restoration company to do the job.
Below we highlight a step-by-step guide on the restoration process.
Let’s get right into it.
Step #1 Identify The Source Of The Water
It is crucial to find the original source of water before replacing the water damaged flooring. Once you identify the source, take some steps to resolve the source of water that is damaging your hardwood floor.
Step #2. Remove Water
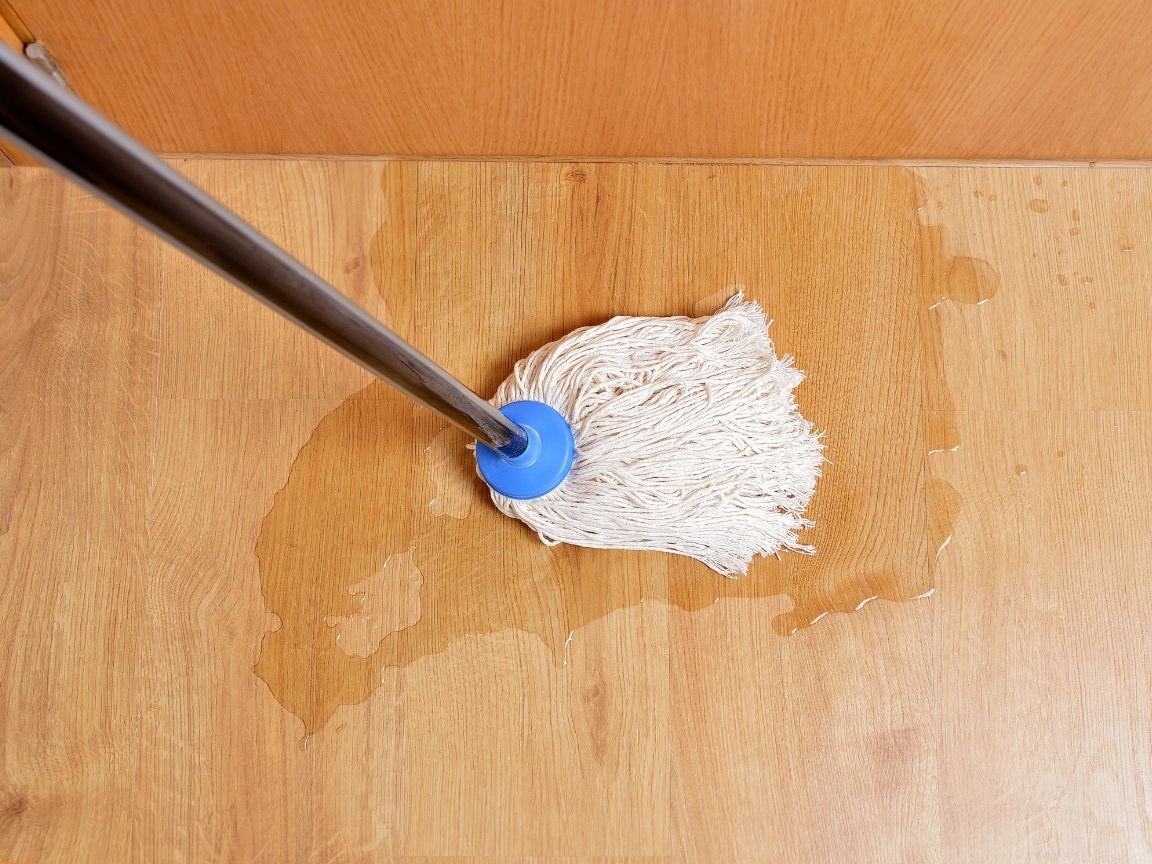
When water has penetrated your hardwood floors, your time to clear it of moisture efficiently is very limited.
Hardwood is an absorbent substance so water seeps into it easily.
When attempting hardwood floor repair after water damage, the first thing you want to do is remove the water as quickly as possible.
As soon as you notice your floor has been damaged by water, you should start attempting to dry it. Start by using items like towels to suck up as much of the surface moisture as you can.
The moisture sitting on top of the wood is slowly seeping into the underlying layers, and getting the surface moisture dried up helps to prevent further damage from occurring.
It’s important to work efficiently and at a fast pace. During this process, it’s likely that there’s a lot of underlying water that’s not accessible.
Water damage is usually much deeper than just the surface, however there are ways to prevent deeper damage.
Step #3 Run Drying Equipment
Once you’ve soaked up what was on the surface, there’s still additional work to do in order to attain dry wood.
Keep in mind you may need some equipment to do it properly. You may have items like heaters or dehumidifiers around the house which are the perfect solution for the next step of the drying process.
Try using dehumidifiers because they are one of the best ways to suck up the extra moisture in your hardwood flooring.
They can work to remove the moisture from the wood as well as water from the air. When put on this highest setting, they can work wonders.
Once that moisture is taken out of the deepest layers of the wood, setting up a fan or heater in the room that the water damaged wood is in can further help to ensure it dries completely.
Keep these machines on for at least 24 hours after discovering water damage to hardwood flooring. Never leave the dehumidifier running for too long.
Step #4 Thoroughly Clean The Wood
Once you’ve removed the water and dried out the wood, make sure to clean the wood. Since the wood was wet, it makes it more susceptible to debris and dirt which can lead to mold.
During the cleaning process, use a sturdy brush and a bucket of water that’s been mixed with disinfectant.
The bucket of water should only be used as a place for you to soap up and rinse out your brush.
Refrain from dumping any of that water onto the actual floor, as it could seep back into the floor and recreate the problem you’re trying to fix.
Step #5 Identify Which Planks Need To Be Replaced
It will probably be fairly obvious which planks need replacing but be aware.
There might be invisible mould, mildew, or water accumulation on the non-affected planks that may appear in the future.
With that said, you’ll also have to take additional planks out, surrounding the damaged planks. It will create a buffer to ensure that hidden damage to the surface won’t occur again.
Alternatively, you can select the planks in an even pattern to ensure the seamless repair look.
Step # 6 Remove The Water Damaged Flooring
Once you have selected the planks to be replaced, remove them carefully.
When you remove the top layer of wood, make sure to inspect the plywood base. If you find that the plywood subfloor is weakened by water or has mould growth, then make sure to pull off the top layers.
Step #7 Ensure That The Concrete Floor Is Dry
Check to see if there is concrete underneath the plywood base.
If there is, you must ensure that it is dry. Allow moisture to expel that may have been trapped by the concrete subfloor.
If you patch new plywood into the existing concrete without letting it dry, it will cause problems later. The moisture or mould will travel through the base of wood planks, damaging its surface.
Step #8 Install The New Hardwood Planks
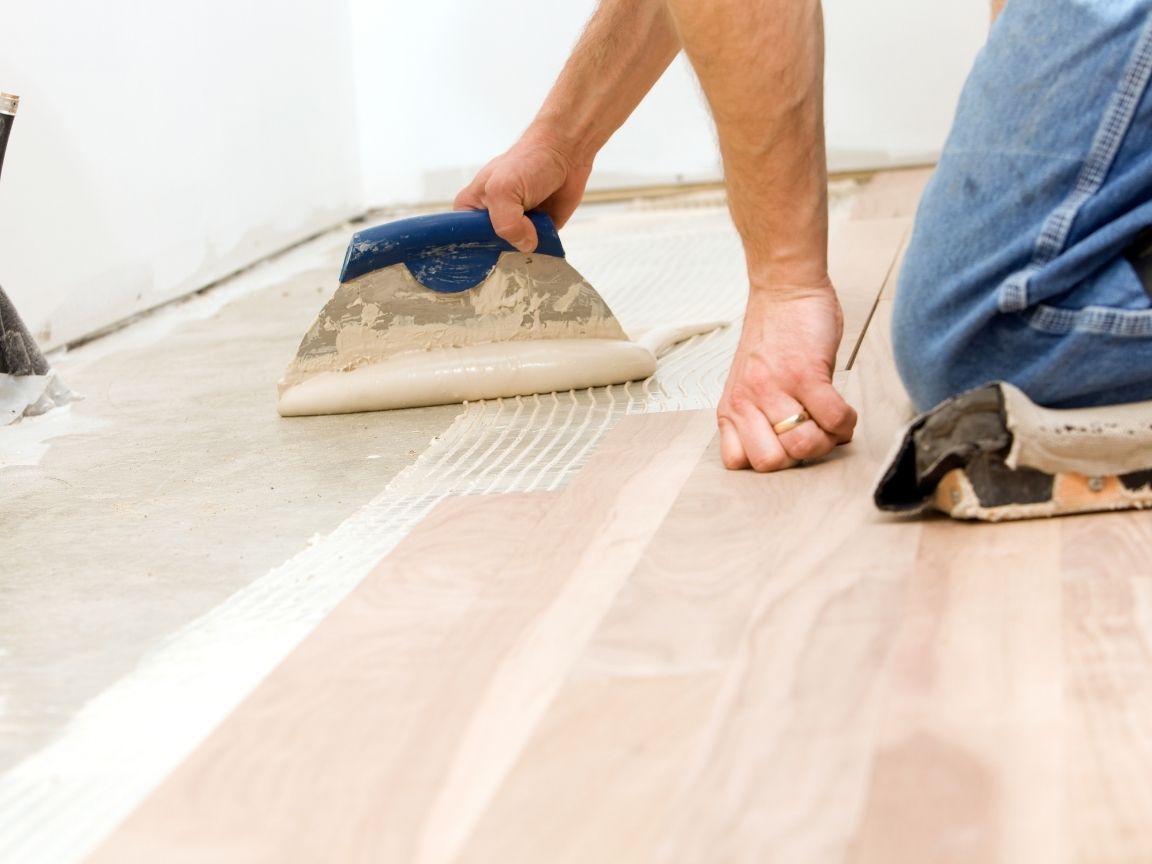
Once you’re sure that the concrete subfloor is dry, it’s time to install new flooring.
Consider installing a moisture barrier, and an appropriate sound barrier, such as cork. This is only if you live in a high-rise building. It will help avoid future problems.
After that, you can start the process of selecting, cutting, sizing, and installing the new wood planks.
For this step, it’s recommended to take the help of an experienced restoration company. Otherwise, you need to give the closest attention to details to avoid gaps between the planks.
If the proper steps aren’t taken, it can create potential structural problems. There may also appear gaps between old and new wood, creating canyons like appearance.
Step #9 Sand And Refinish The Entire Floor
Once you have appropriately installed the new planks, it is time to sand and refinish the entire flooring for a more uniform look.
Sanding and refinishing will also make old planks look new and sleek as the wood loses its natural colour over time due to sunlight and other factors.
It’s recommended to do a spot refinish if your budget doesn’t allow you to refinish the entire floor.
Refinish the newly installed planks to match the colour of old boards. Also, you can tweak the stain colour on the wood.
Summary
– Identify water source
– Remove water source
– Use heaters and dehumidifiers
– Clean hardwood
– Identify wood planks that need to be replaced
– Remove water damaged flooring
– Ensure concrete is dry
– Install new hardwood planks
– Sand and refinish entire floor
If you have any questions about hardwood floor water damage or need help with hardwood floor water damage restoration, feel free to call us at 1-833WE-DRY-IT anytime 24/7/365 all the time. We’re there when you need us!
Related Posts
The dangers of a leaky roof and what to do when you find a leaky ceiling
10 helpful smoke damage cleaning tips
Restaurant flooded? Here’s how to deal with a restaurant flooding
What’s causing mould in your home? Here are the top reasons why
How to prevent mould growth after a flood
A pipe burst in my business building – what do I do?
What to do when a water pipe bursts in your apartment
Hire the right mould removal company by asking these vital questions
15 interesting facts about mould
What causes mould damage and what you can do about it
Top common signs of water damage: here’s what to look for